Vacuum-Chamber
Vacuum Chamber
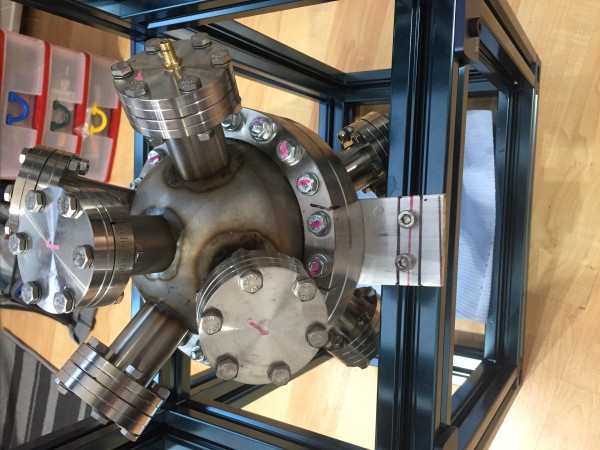
For a Fusor to fuse atoms the first necessary component is a vacuum chamber. I didn’t want a mass produced vacuum chamber without soul, I wanted a locally made artisanal vacuum chamber (mostly because I didn’t have the money for the first option). I can’t pretend I have any great skill at the tasks involved, but I was able to get the work done and the vacuum chamber assembled. My chamber is essentially a direct copy of a design by Andrew Seltzman, you can find detailed open source plans from his own fusor build here. If this summary with photos isn’t enough for you, you can read the whole riveting (no rivets involved) process from start to finish here. My chamber is made from two hemispheres with a whole bunch of vacuum hardware welded to it. It has a total of 10 ports to which I can attach any number of gadgets.
Machining
To begin I had to use a lathe to drill out the on axis ports of the vacuum chamber. I used various drills to enlarge the hole and then used a boring bar to take it to its final dimensions. I broke a couple of bits while doing this.
.JPG)
I had to use a tilting table to drill out the 4 off axis ports on each hemisphere. Again the process was basically the same as the lathe, drill out the hole with successively larger drill bits and then use a boring bar to take everything to the precise size. I broke some more bits.
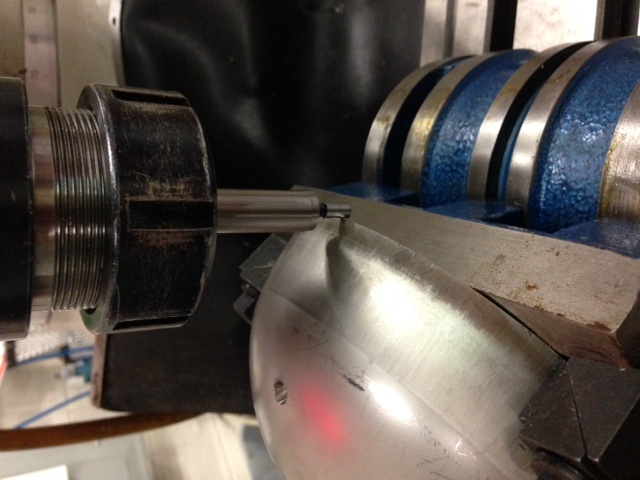
I would not have been able to undertake any of this work without access to machine tools, Protospace, a local makerspace in Calgary, provided access to those tools. Very kindly, they also provided training so that I didn’t rip my hands off, and got an understanding of how to use these intimidating machines. After that I was off to the races, where I still made many many mistakes like say breaking lots of cutting tools.
Welding
Once all the holes have been made, the next step is to melt some metal! I bought a cheap TIG welding machine off of Amazon, and then had to procure all the bits and bobs to make it work. A gas tank, regulator, welding rods, electrodes, a lot of making things seems to be shopping for some reason. After that I practiced on some bits of scrap metal and I was able to go from terrible looking welds to okish looking welds. Then I took a great leap forward and welded the chamber! I did ok for a first attempt, but I made some mistakes which you can read about later on.
.jpeg)
Frame
Finally, I mounted the chamber in a frame made from aluminum extrusion. There are lots of places to get it, but I ended up ordering my frame from Vention. They had a fancy little CAD tool online that let me lay things out online and then it got mailed to me pretty quick. I have no real complaints, other than to say it was a little bit pricey.
.jpeg)
Testing
Obviously if it’s a vacuum chamber this thing has to be airtight, so I had to test it. I used a soapy water solution, applying it to all my welds and then pressurized the chamber with a bicycle pump. The first test did not go well….
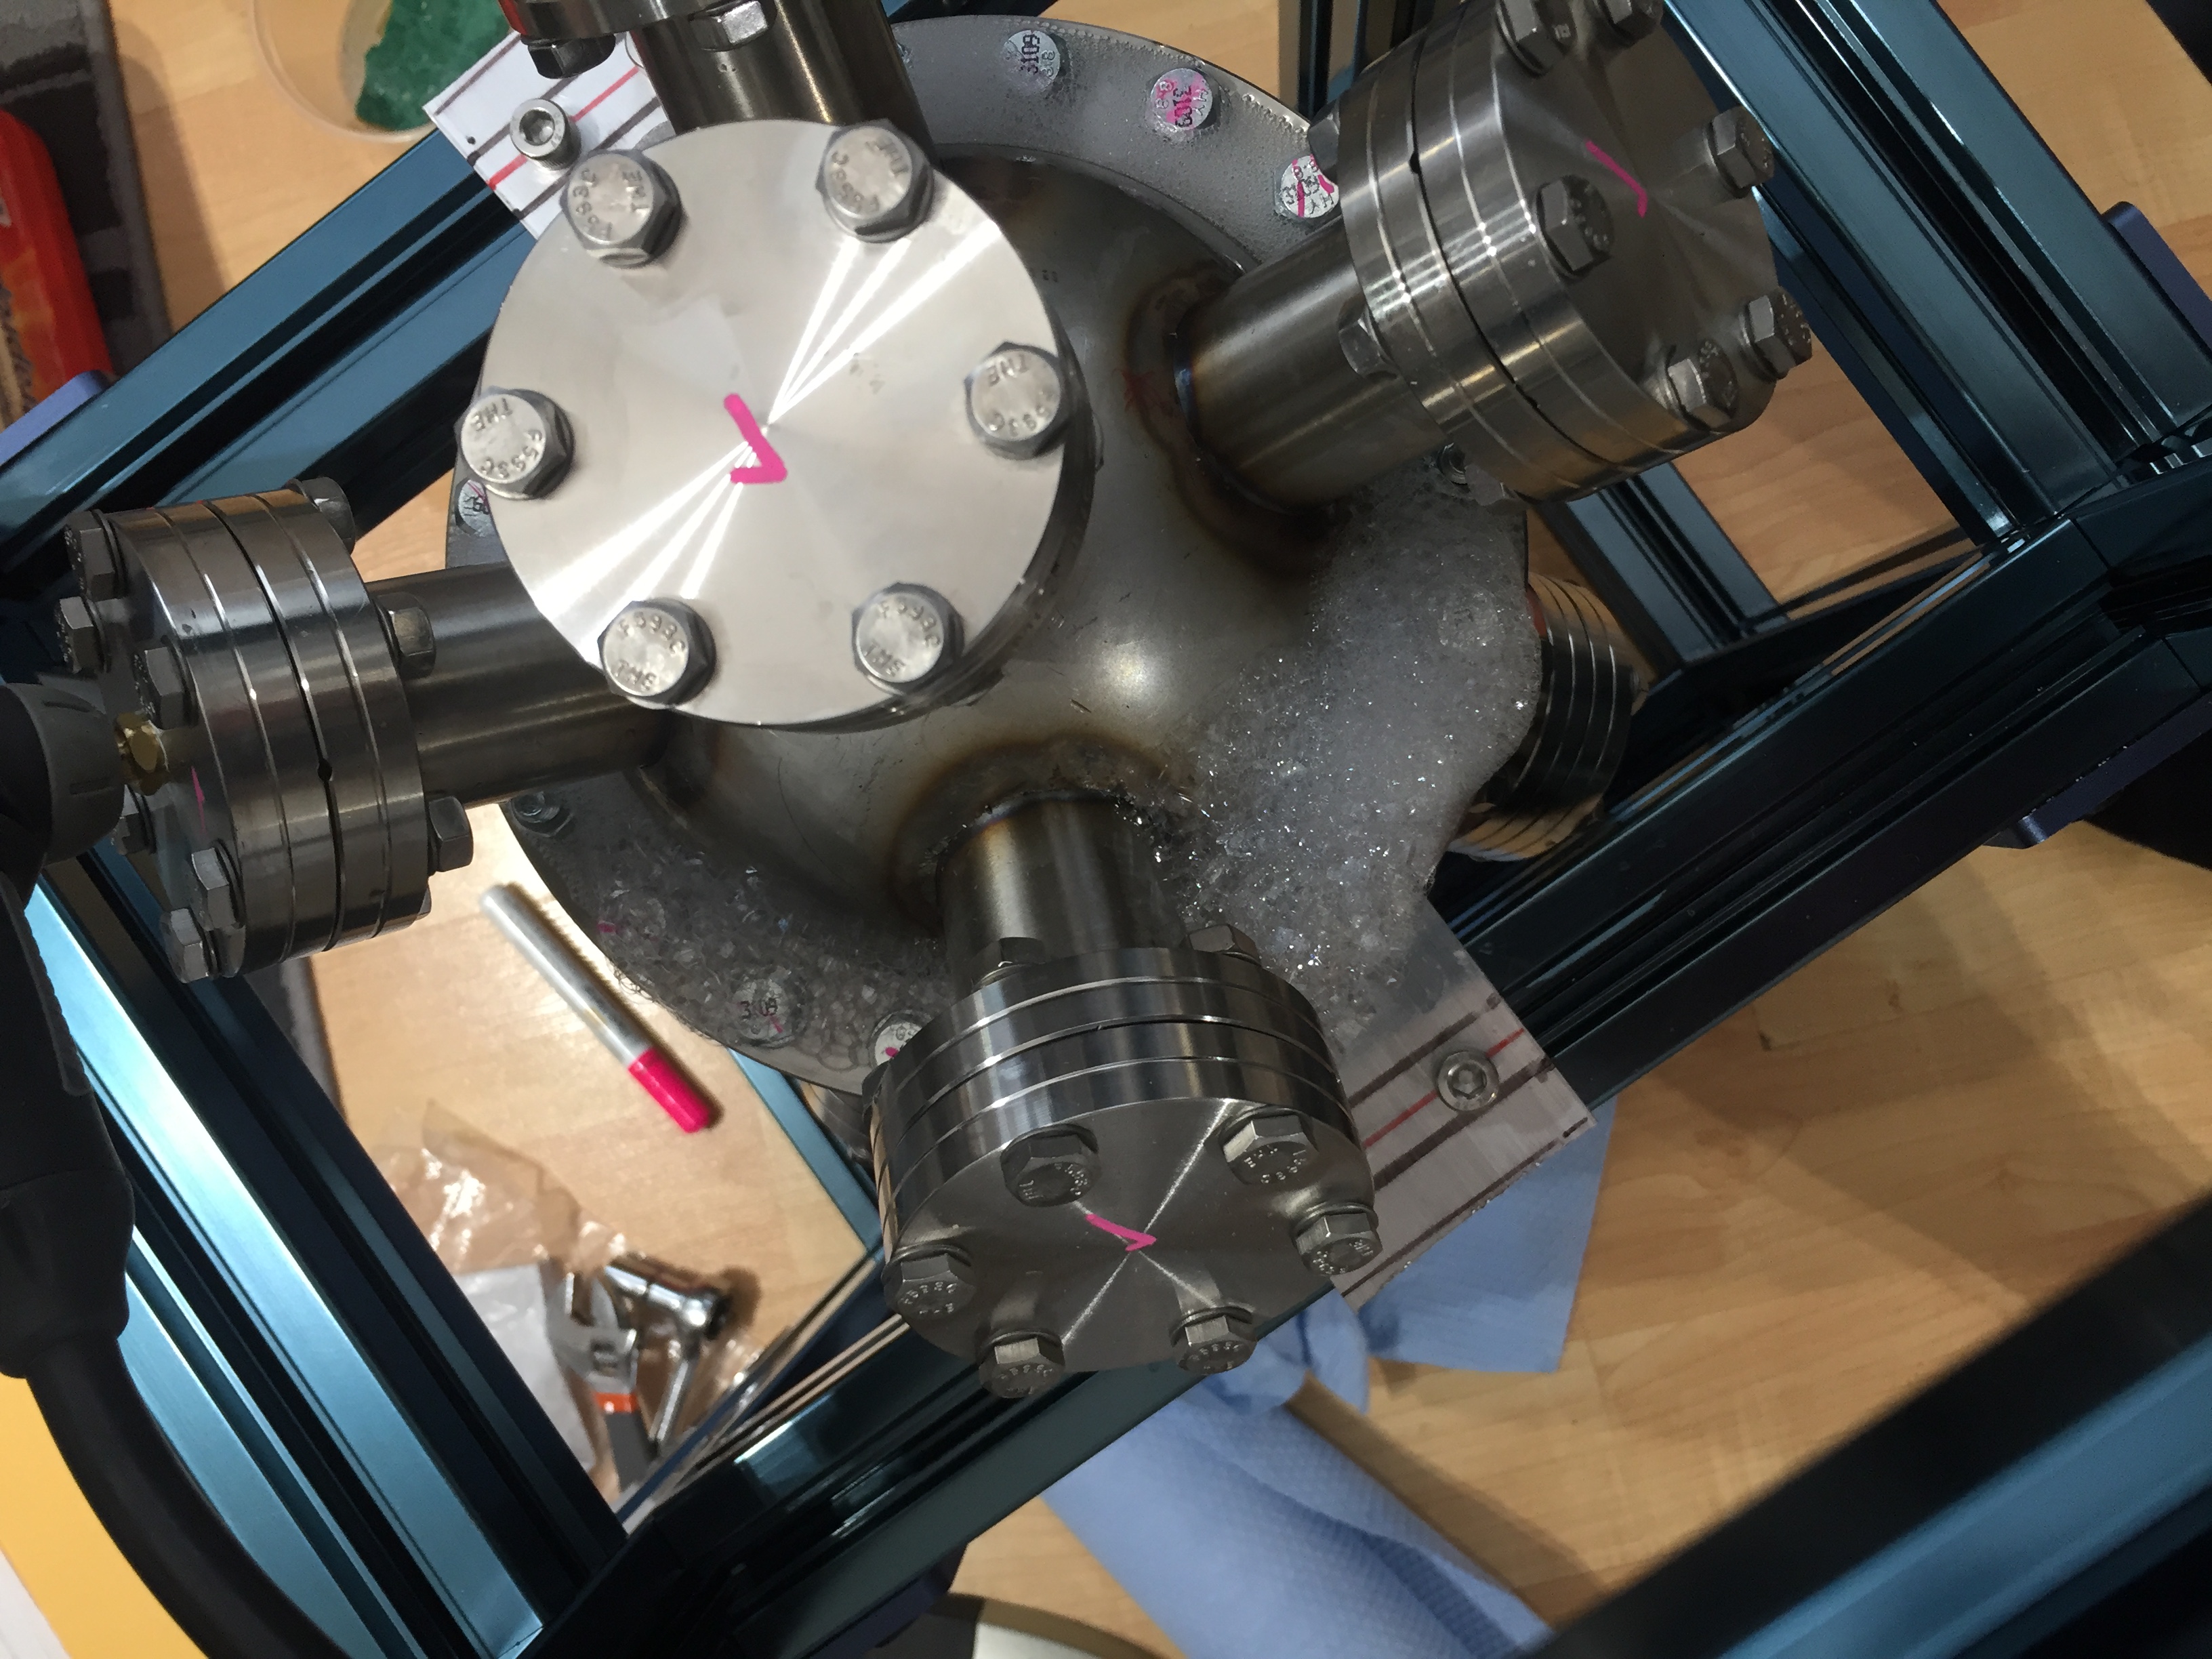 So I had to take it apart, check all the welds, weld the holes I found and then run the test again. Really it was a problem of not welding enough as the holes occurred where welding had not. Then the soap solution test was performed again and thankfully it went much better!