Thermocouple-Gauge-Sensor
View the Project on GitHub FuzzyBunnys/Thermocouple-Gauge-Sensor
Thermocouple Vacuum Gauge.
This page details a small microcontroller project that reads a vacuum thermocouple gauge. At its completion it will include all the necessary kicad files to create or modify your own pcb, a bill of materials (BOM) for the components necessary to assemble the pcb and the program to run the whole thing. It’s core design is based on a circuit from The Bell Jar. However my design uses a non-inverting amplifier to simplify the power supply.
The PCB
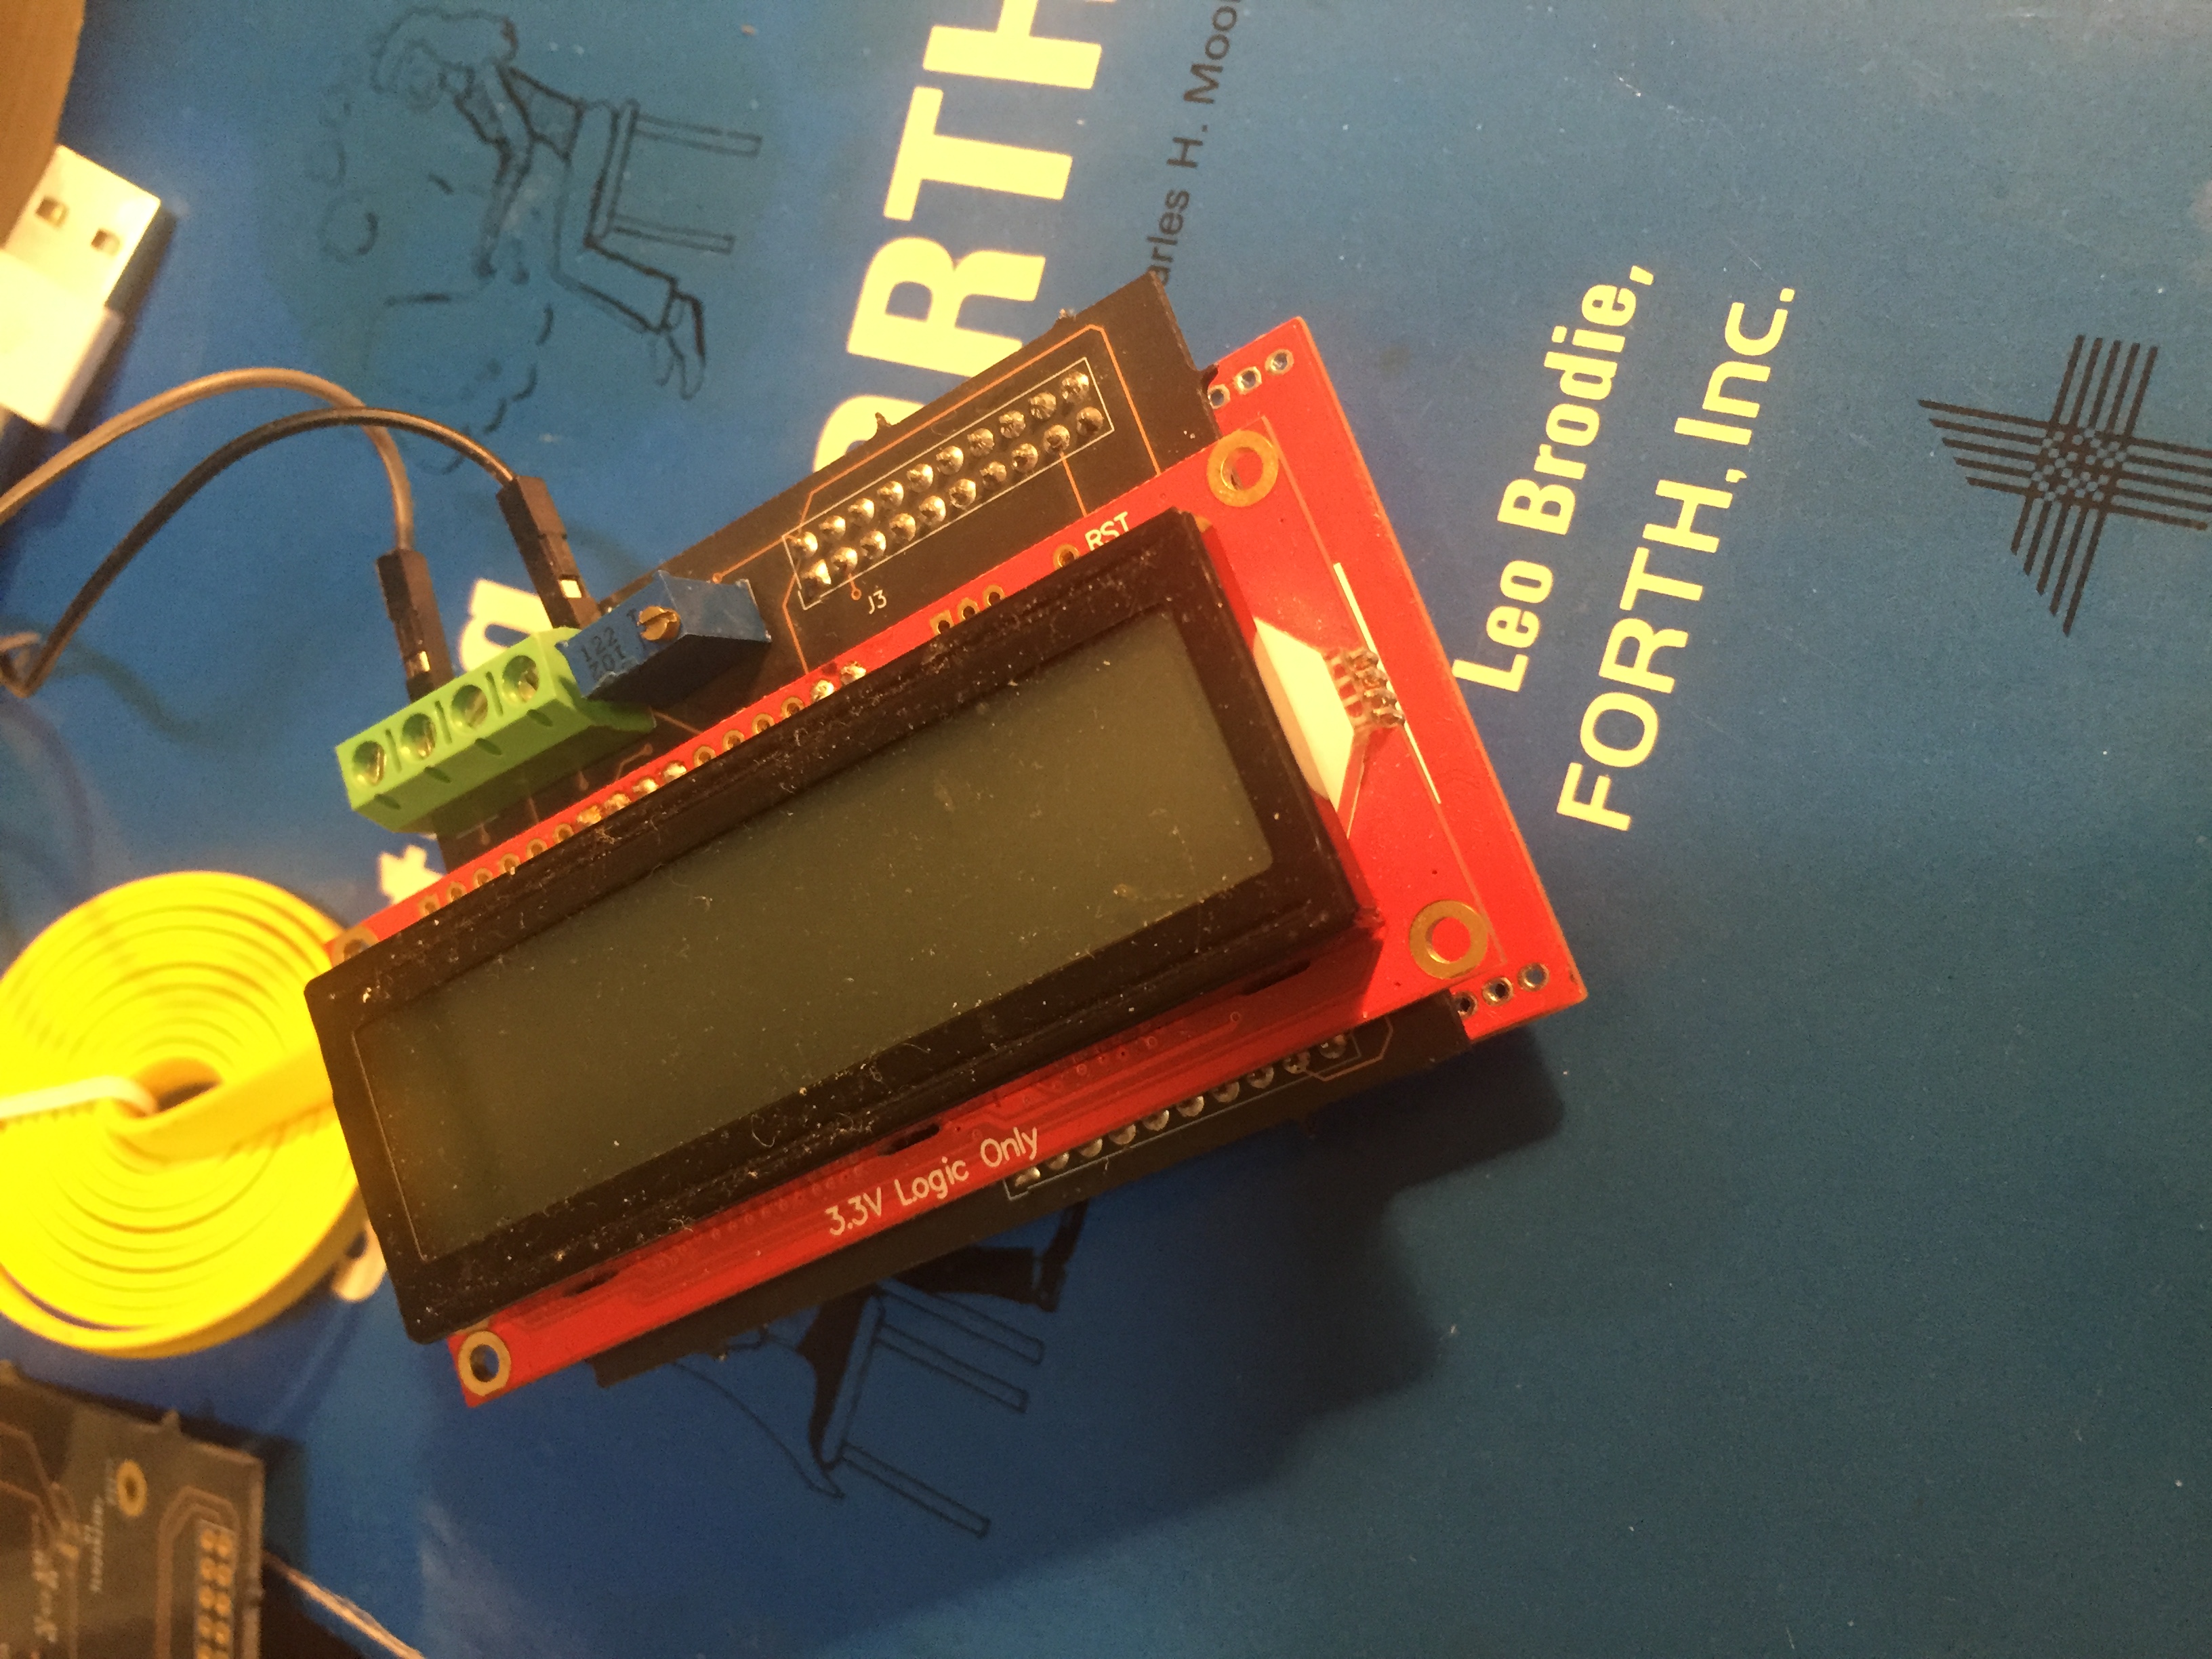
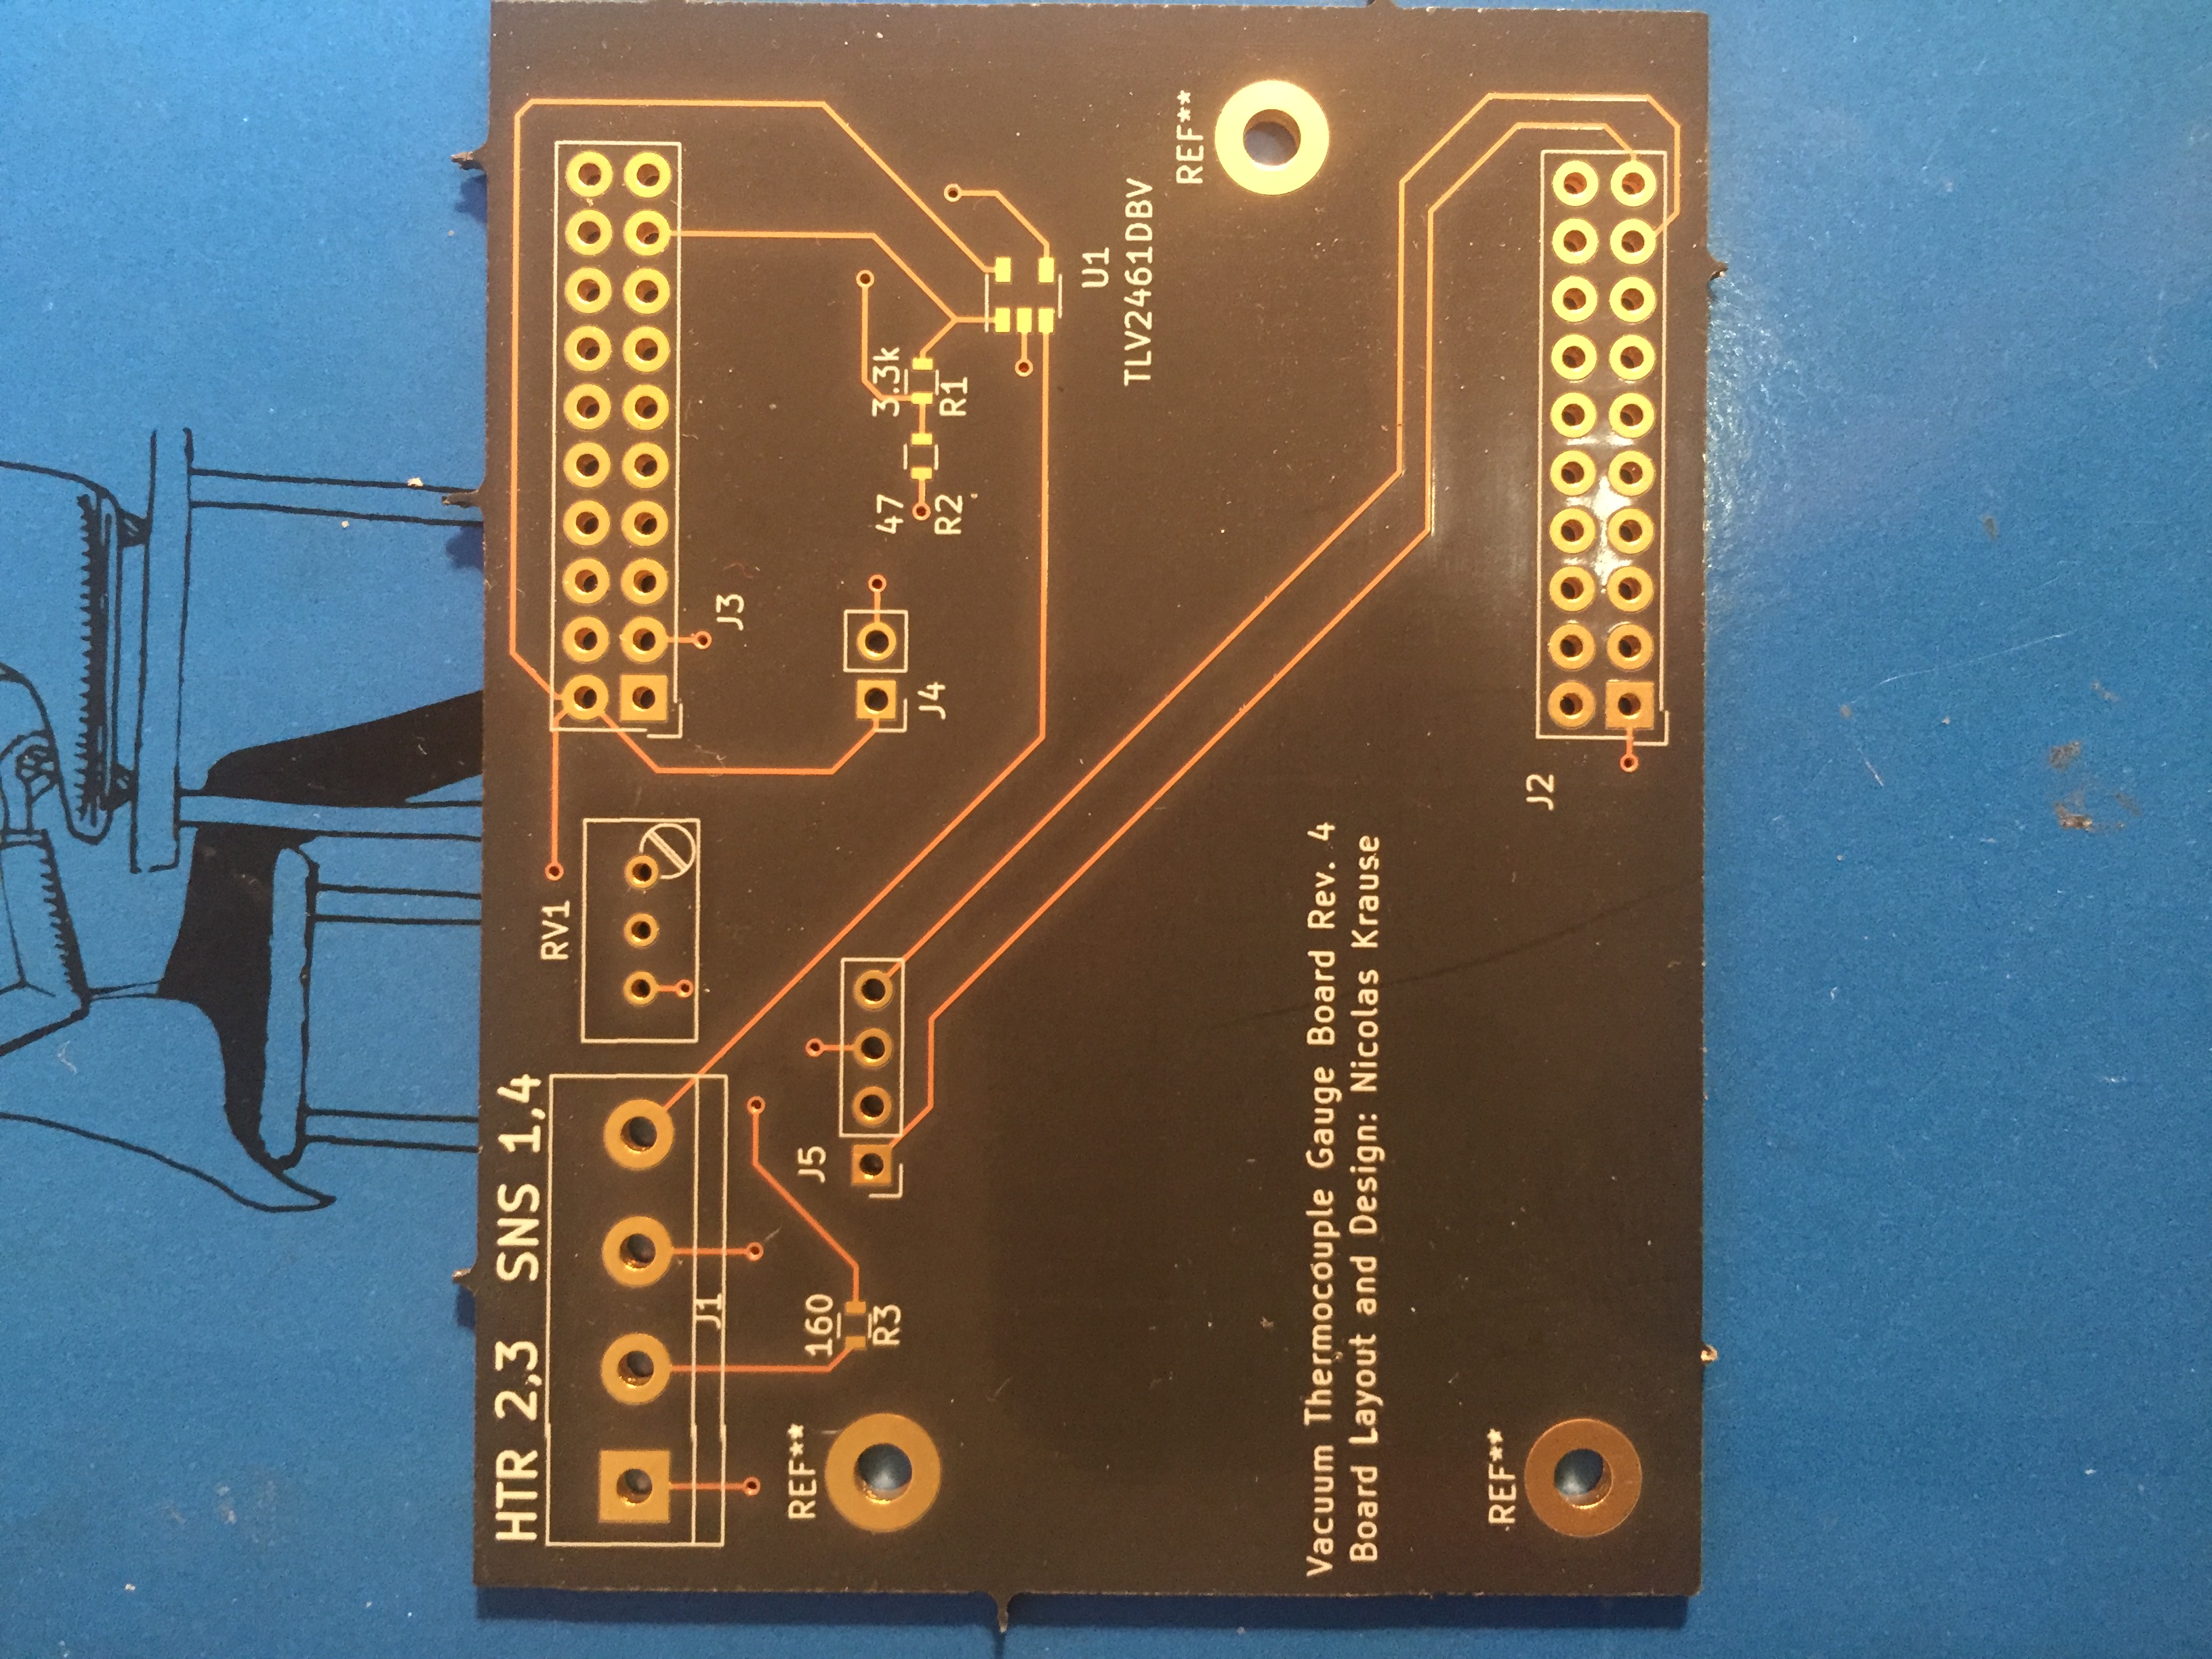
The PCB connects a TI Tiva C Launchpad to a SparkFun LCD display and a non-inverting op-amp that amplifies the signal from the vacuum thermocouple gauge. It was designed in KiCad and the boards themselves were manufactured by OSH Park, though of course you are able to use whichever manufacturer you prefer. A third revision of the board was completed to correct some mistakes identified in the second revision. All of the necessary files (including gerbers) are included in the Thermocouple Gauge folder.
The BOM
The BOM is an excel file with a listing of all the required components for the PCB, certain components have the Digikey link included directly, but for generic components such as resistors or pin headers there is no Digikey link. It shouldn’t be too difficult to select those components yourself.
The Program
The program is written in Mecrisp-Stellaris a dialect of Forth. The process for setting up Mecrisp-Stellaris on a TI Tiva C Launchpad is as follows.
- Download Mecrisp-Stellaris
- Download TI’s Uniflash
- Connect the Tiva C series board via usb and the debug port
- Load mecrisp-stellaris-lm4f120.bin using Uniflash on to the board
- Make a connection at 115200 baud rate via TeraTerm to the launchpad board.
- Reset the board and the welcome message for Mecrisp-Stellaris should appear.
Once Mecrisp-Stellaris has been loaded you can use it as a development environment and test code as its written. The full program I wrote is available as a .txt file on github and was written in the Sublime 3 text editor. The code is well commented and should be relatively self-explanatory.
The code initializes the main peripherals (an ADC and SPI bus) on the TI Tiva C and then enters a polling loop where the ADC is read, the measured value is converted to a pressure measurement and then is printed out to the connected LCD screen. The core function that performs the conversion is below. All calculations take place using fixed point values, and the core mathematical functions come from Matthias Koch’s fixed point library for Mecrisp-Stellaris.
: CONVERT ( MEASUREMENT -- PRESSURE)
	\ a word to convert the value from the circuit into a pressure value.
	\ firstly I take the very small value from the TC Gauge, and jam it into an amplification circuit.
	\ The range on the amplification circuit is 0 -> 71.2 * Vmax. Here Vmax is 14mV so max input is
	\ This function currently assumes a 6343 or KJL 1518 type TC tube.
	\ It implements an exponential function of the form y = 7,000,000 * x^(-2.032)
	\ Where x is in the input measurement and y is the output in mTorr

s>df \ convert measurement value to fixed point
\ raise x to power -2.032
log2 2,032 f* \ take the log base 2 of x, multiply by our power
pow2 \ take the power of 2 to get rid of the log base 2
1,0 2swap f/ \ gotta divide our value into 1
7000000,0 f* \ put our scaling value for x on the stack and multiply
mfloor \ convert to integer by taking the nearest whole number

;
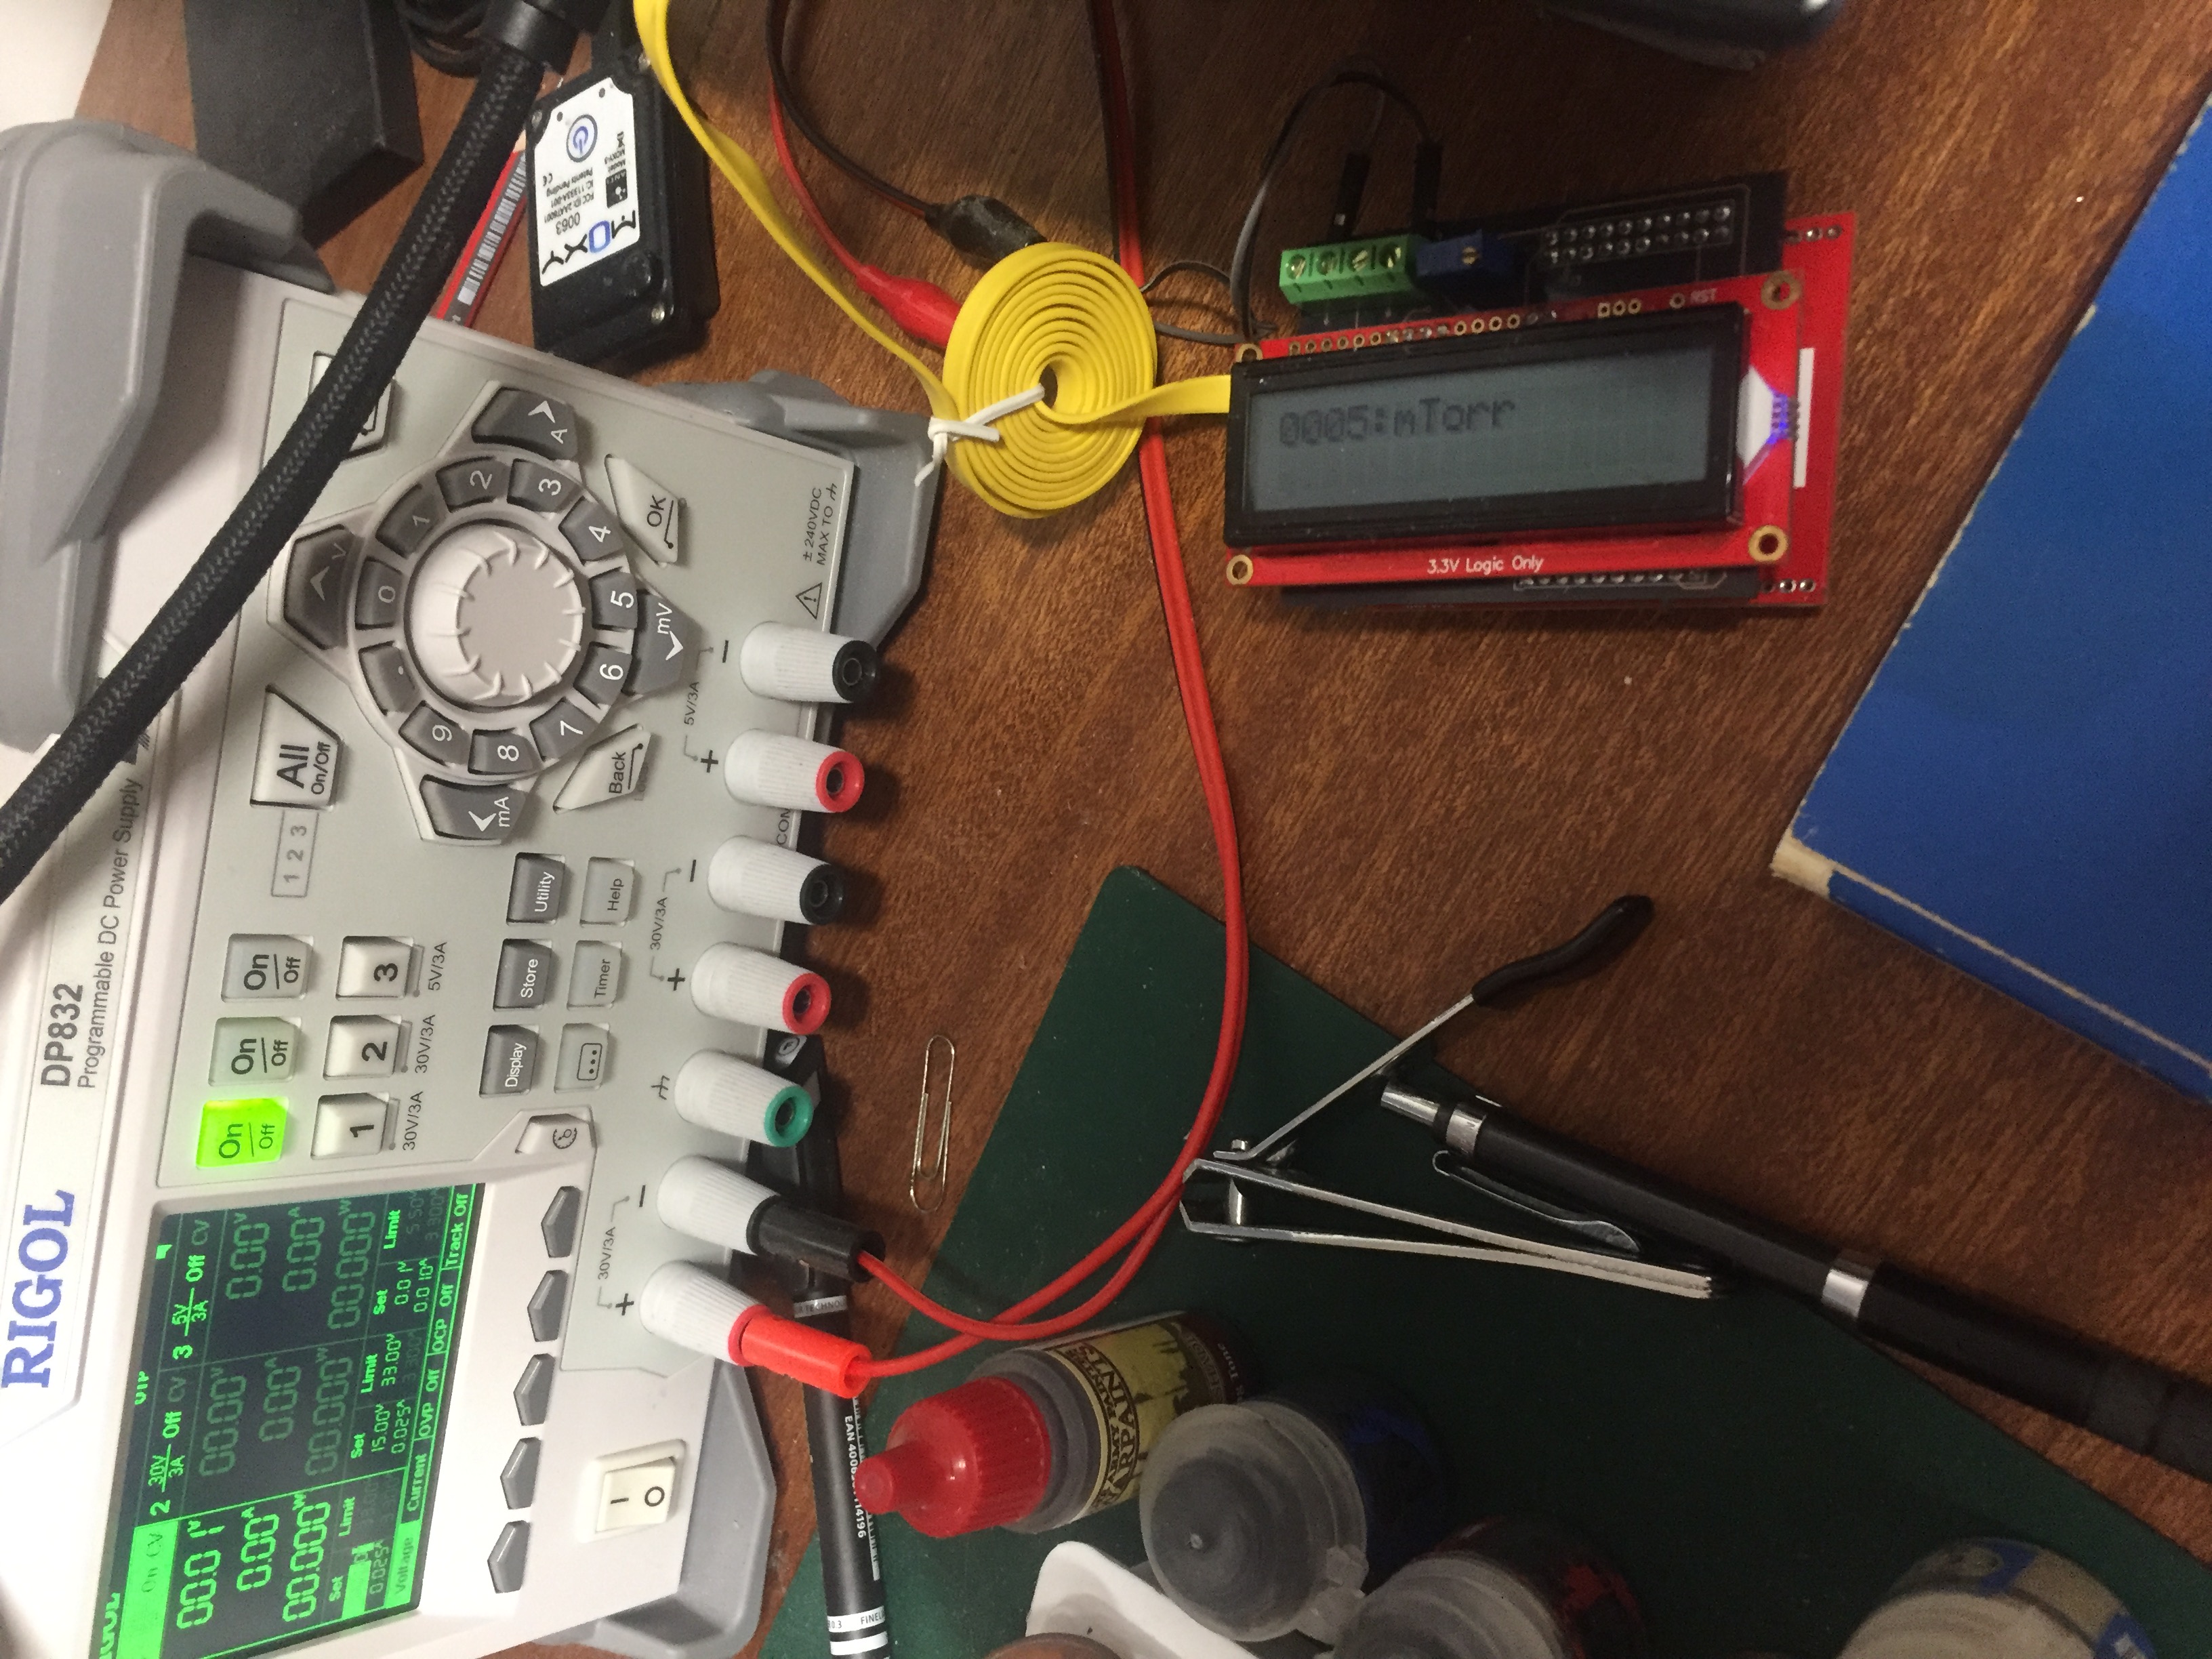
An image of the complete sensor hooked up to a test voltage source is below.