TurbopumpController
Turbopump Controller
So to get the whole fusor working, I need to generate a vacuum, and to generate a vauum I need some pumps. In particular I need a turbopump and a backing pump. I have both, but only the backing pump is working. The turbopump needs a controller, and those are expensive so I’ve decided to build my own!
The PCB
First Attempts
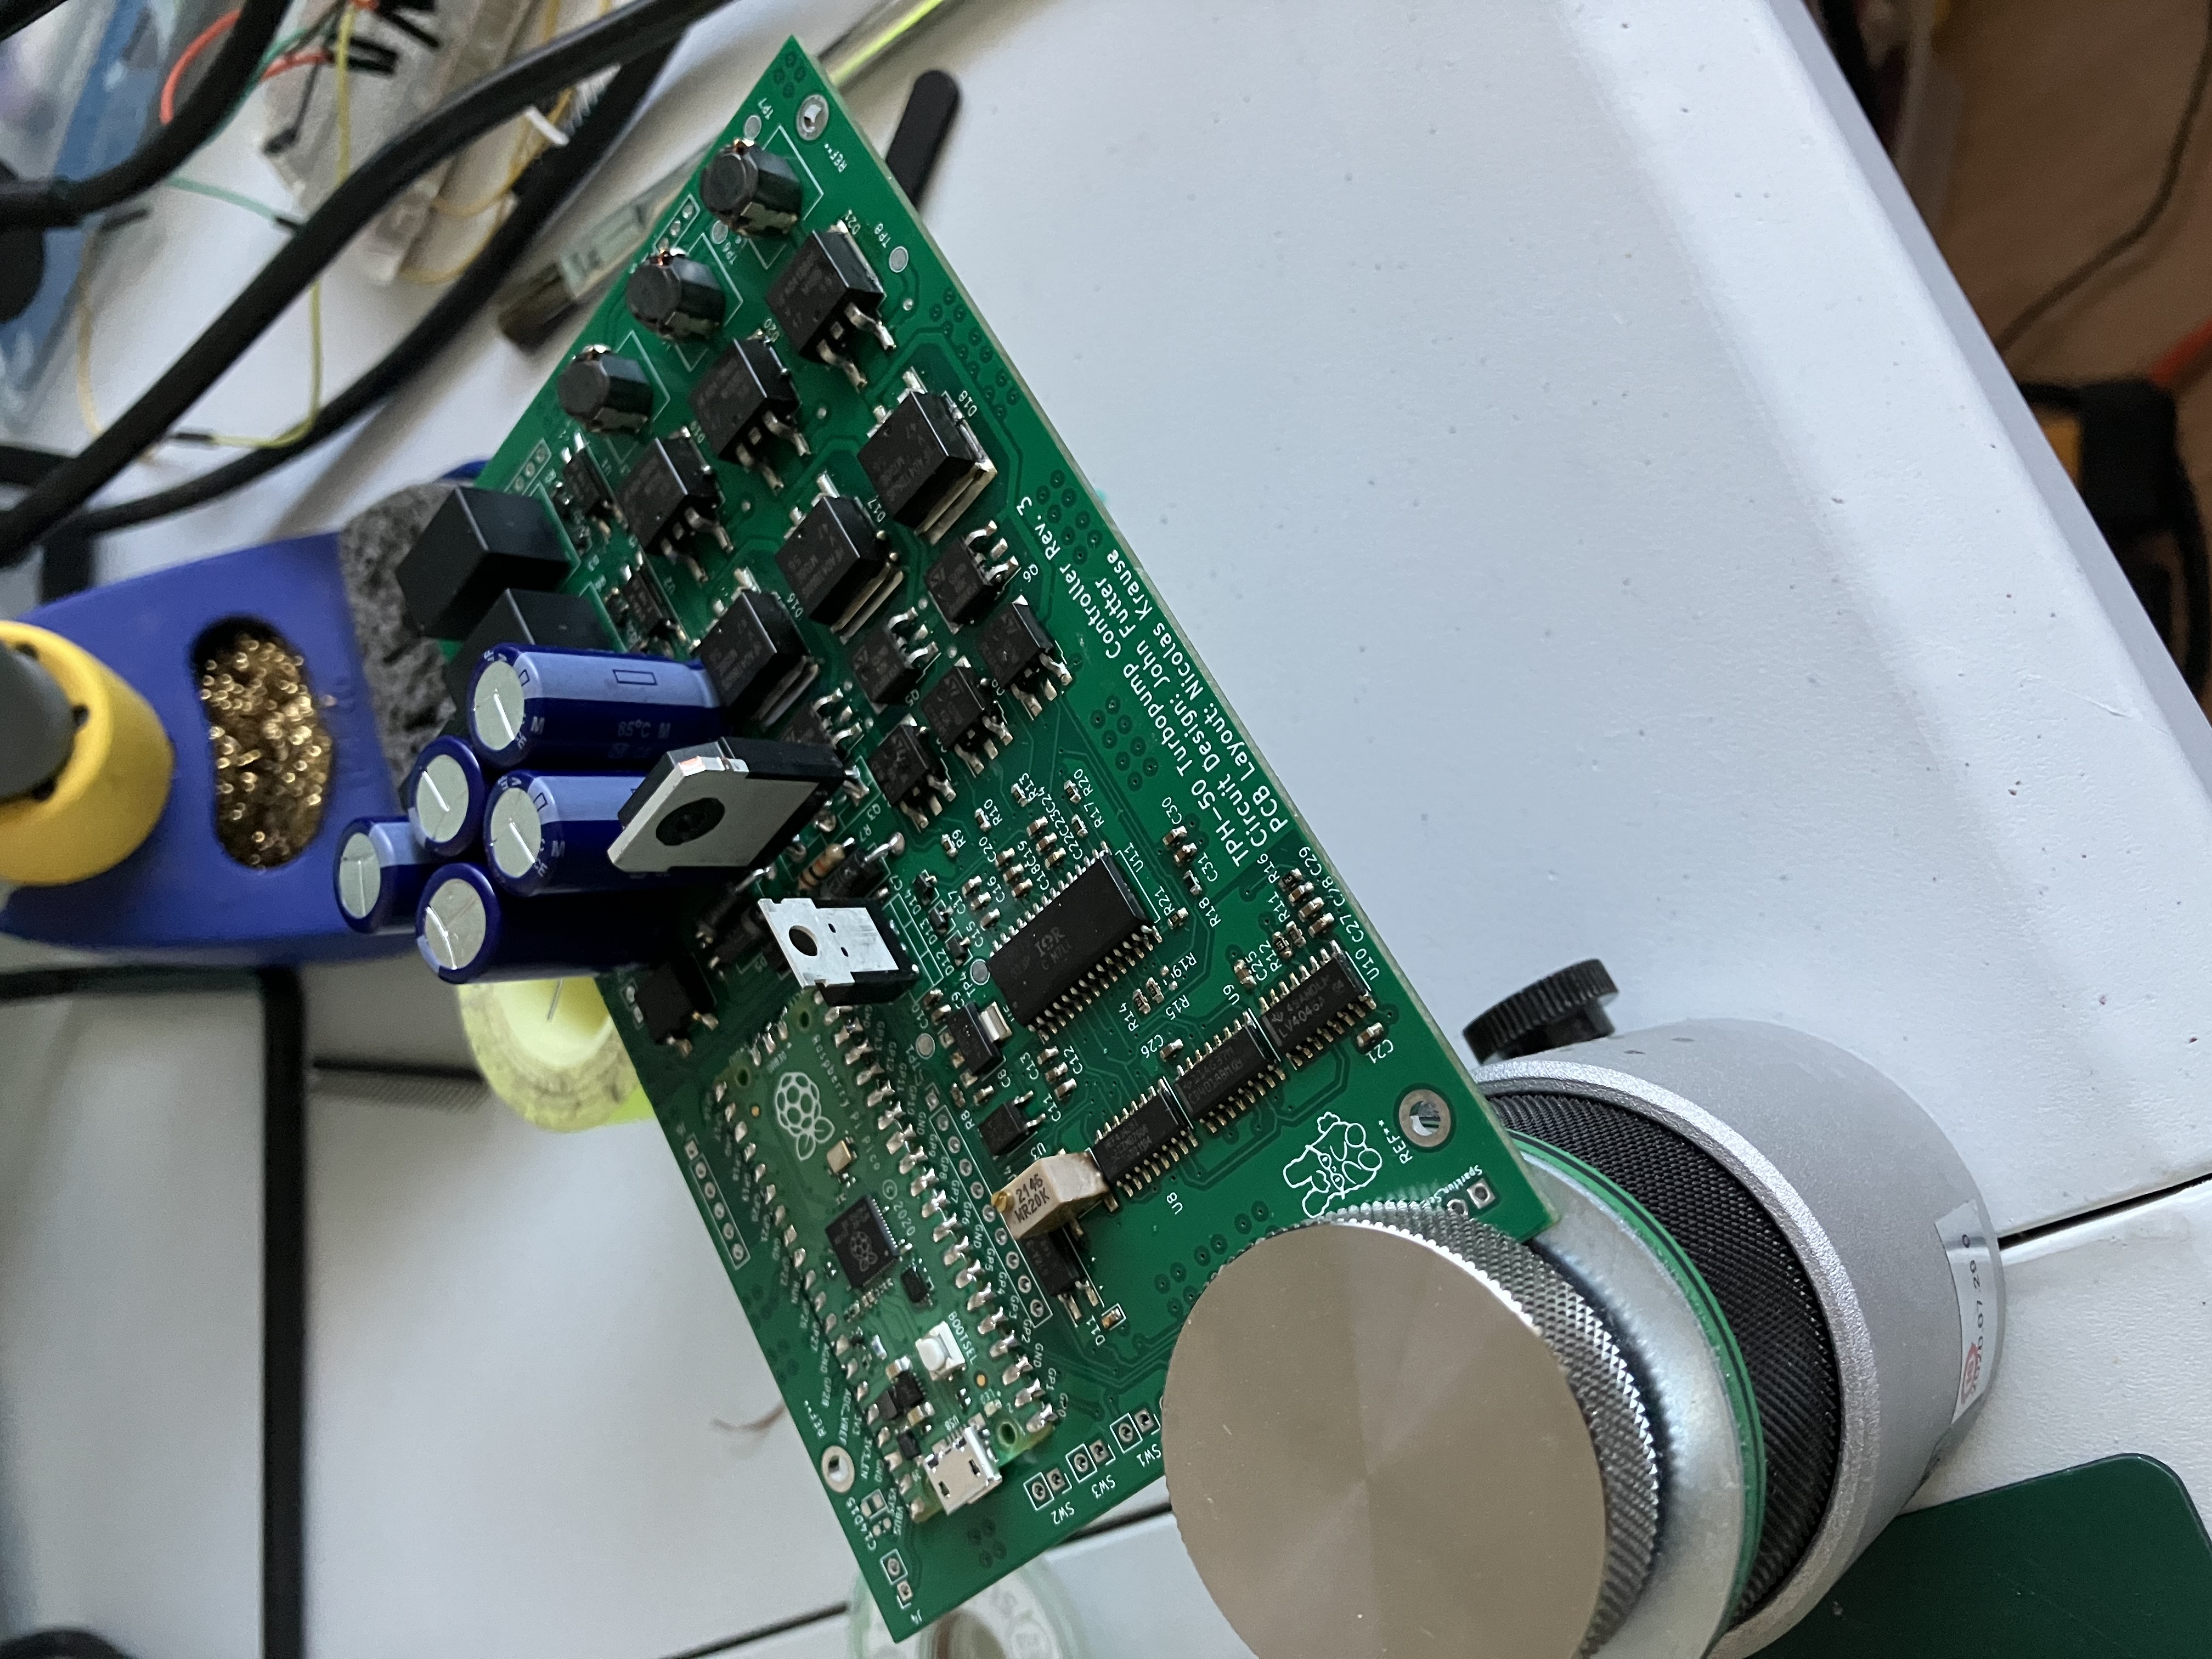
I’ve built many PCB’s before, but this is the first time I’ve done a 4-layer board. The circuit is based on John Futter’s (From the fusor.net forums) design, the only real modification I made was to add an LCD screen, a Raspberry Pi Pico, and some buttons. Joe Gayo on the fusor.net forum very kindly pointed me to the following video about proper PCB grounding. While it’s long, it’s very worth it. The whole PCB was laid out in KiCad, and I commissioned a little chibi bunny drawing from a great artist on twitter. A few revisions were necessary to deal with some layout errors, but I soldered up the board and began testing. The files for the most recent complete revision are available on my GitHub repository. I used JLPCB for the boards simply because their quote was the cheapest.
 If you want to examine the schematics and PCB immediately you can use the wonderful KiCanvas tool that was put together by Stargirl.
Second Revisions
Returning to this project after over a year away revealed some problems. My skills have continued to develop and I can see mistakes and poor practice in the schematics and PCB design. To begin, I’ve started to re-work the schematics for legibility. You can see the improvement in the schematic layout for the microcontroller quite quickly with the two photos below.
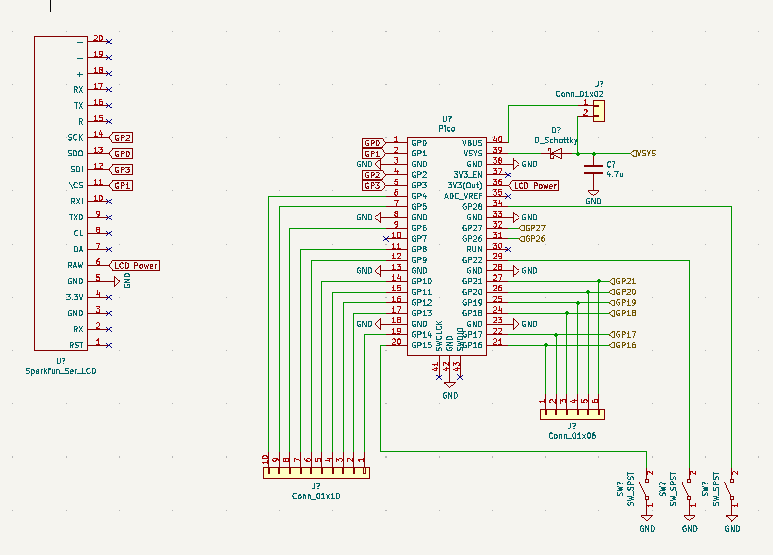
The New Schematic
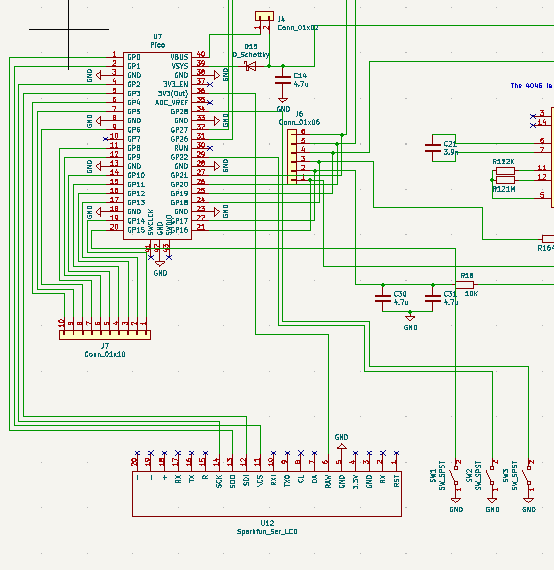
The Old Schematic
The Program
I wanted to use this project as an excuse to pick up another new language, Ada, I’ve been curious about it for awhile largely because of it’s safety features. Handily a bunch of people have been doing a bunch of work to get it running on the RP 2040, which powers the Raspberry Pi Pico that I have on the PCB. I’m also really interested in using SPARK which is a formal method. It’s a powerful tool that lets you prove properties about your program which is important if you want it to be safe and reliable.
Step one in the programming section is to get connected to the Raspberry Pi Pico so that we can put stuff on it. To do that we’re going to use OpenOCD. This is a program that lets us do On Chip Debugging, Jeremy G’s tutorial on YouTube was a huge help and I basically followed it step for step. I’ve had to work through a bunch of tutorials on Ada, and relative to other languages, there isn’t a lot on the internet. Maciej Sobczak’s series is excellent for microcontroller programming, Paul Jerret’s talk was a nice quick overview, as was Jean Pierre Rosen’s, finally the AdaCore website has some excellent documentation. SPARK is a subset of the Ada language that lets you prove some properties about your program. As simply as possible, you have a specification and a program, and SPARK lets you check that there’s a correspondence between your program and your specification. I found the following talk very helpful as an introduction into how this works.
Syntax highlighted code block
# Header 1
## Header 2
### Header 3
- Bulleted
- List
1. Numbered
2. List
**Bold** and _Italic_ and `Code` text
[Link](url) and 